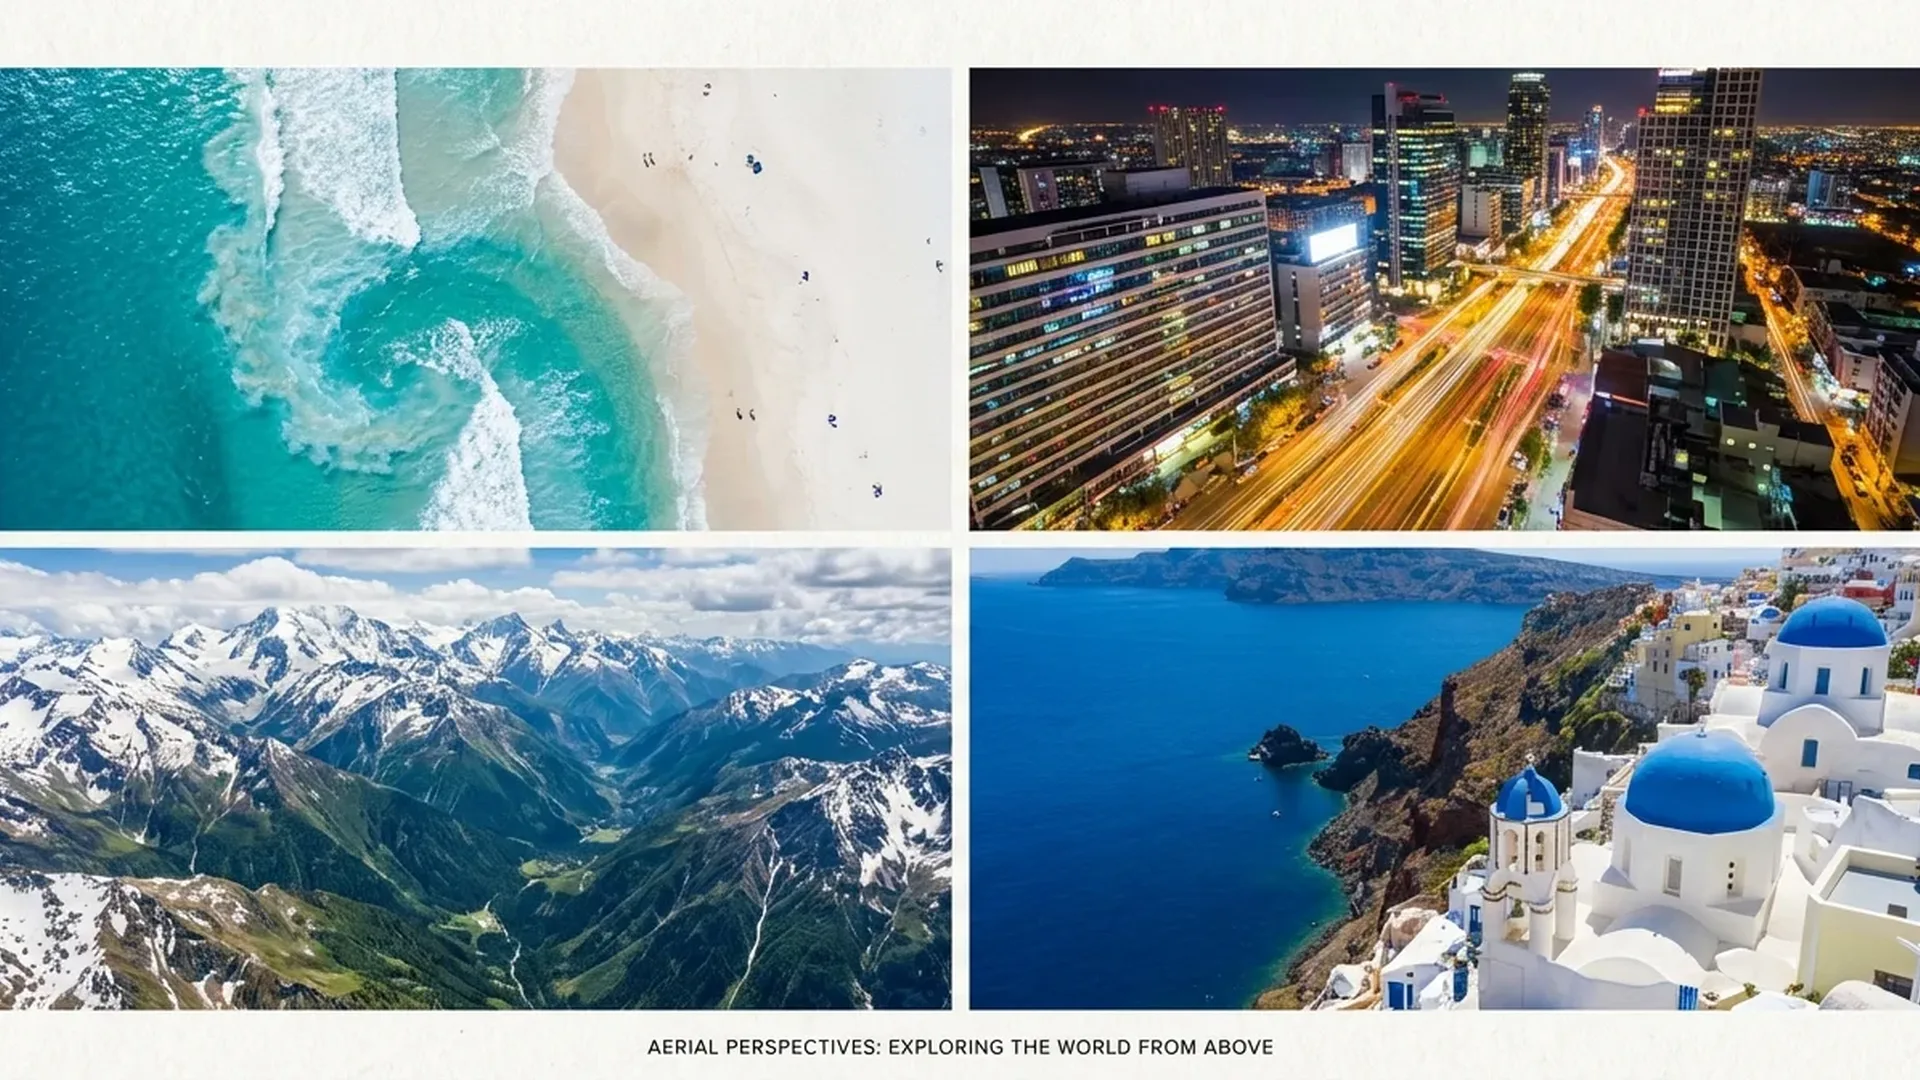
Drone photography is more than pressing a button in the sky. Behind every striking aerial image lie techniques, planning, and experience that transform a basic shot into something memorable. In this article you'll find 15 practical, proven tips drawn from professional aerial photographers — covering composition, camera settings, lighting, and post-processing.
Tip #1: Always Shoot RAW — Never JPEG Only
This is the single most important tip, and that's why it comes first. According to Shotkit's expert photographers, RAW files contain far more data than JPEGs — especially in shadows and highlights. This means you can recover details that appear lost, change white balance after the shot, and make serious edits without destroying quality.
JPEG permanently discards information during compression. In aerial photography, where you often face extreme dynamic range (dark ground + bright sky), that loss is especially critical. Enable RAW or at least RAW+JPEG (for quick previews) in your camera settings.
Tip #2: Know the Light — Fly at the Right Time
Lighting is the most important factor in photography. Expert photographers stress that morning and evening are by far the best times — the sun sits low, creating long shadows, warm tones, and dramatic illumination. This golden hour lasts just 40–60 minutes after sunrise or before sunset.
The blue hour (20–30 minutes before/after the sun) is equally magical — especially for cities with artificial lighting. In contrast, the midday sun creates harsh shadows and washes out colors. The only exception: top-down photography, where shadows disappear vertically.
"Golden hour isn't just a recommendation — it's the reason some aerial photographs stand out. Plan your flights around the light, not the other way around."
Tip #3: Rule of Thirds — The Foundation of Every Composition
Enable the grid overlay in the DJI Fly app (or whichever app you use). Place the key elements of your image — coastlines, roads, buildings, anything that stands out — at the grid intersection points. This principle applies to ground-level photography too, but from above the effect is even more pronounced.
The rule isn't sacred — you can break it intentionally. But if you're not sure what you're doing, start with the rule of thirds and gradually experiment from there.
Tip #4: Use Leading Lines
Roads, rivers, trails, tree shadows, coastlines — aerial photography reveals lines that are invisible from the ground. These lines don't exist by accident: they guide the viewer's eye through the image, creating depth and direction. A winding mountain road, a river disappearing into the horizon, or a row of trees — use them as guides for your composition.
Tip #5: Patterns & Symmetry — Top-Down Magic
The vertical shot (90° — bird's eye view) is the exclusive capability of drones. It reveals patterns never visible at eye level: geometric farmland, rows of boats in a marina, architectural formations. According to experts, the top-down angle transforms landscapes into abstract art — scale is lost and the result resembles a painting.
Look for color contrasts: turquoise water next to white sand, green forest next to brown rock. Aerial photography turns landscapes into a color palette.
Tip #6: Add Scale for Dramatic Effect
An aerial photo showing a mountain trail is good. But if there's a lone hiker on that trail, it becomes extraordinary. The human element provides a sense of scale — the viewer understands how vast the scene truly is. A car on a road, a boat at sea, a house on a hill — the size reference transforms a “nice” photo into a powerful one.
Tip #7: Google Earth Scouting
Before visiting a location, scout it via Google Earth. The top-down view closely resembles what you'll see from a drone — you can find interesting angles, patterns, and points of interest before flying. This means you can plan your shots in advance, maximizing your battery time — which is 34–46 minutes depending on the model.
Additionally, apps like The Photographer's Ephemeris help you calculate where the sun will be at a specific time, so you can plan the lighting of your shot.
💡 Pro Tip: The combination of Google Earth + The Photographer's Ephemeris can show you exactly how a mountain's shadow will fall at a specific location at a specific time. That's pure planning — but it makes all the difference.
Tip #8: Manual Mode — Leave Auto Behind
Auto mode delivers acceptable results, but never exceptional ones. It can't “understand” that you want silky water (slow shutter) or that you want to preserve sky detail. Learn at least Shutter Priority (S) — you set the shutter speed and the camera handles ISO.
Basic rules: For photography, 1/500 sec or faster (avoid motion blur). For video, follow the 180° rule — shutter speed = 2× framerate (1/50 for 24fps). ISO always at its minimum (100–200). Modern 1/1.3″ sensors with Dual Native ISO handle up to 400 without noticeable noise.
Tip #9: ND Filters — Don't Leave Without Them
ND (Neutral Density) filters reduce light reaching the sensor without altering colors. For video they're essential — without them, in bright conditions, shutter speed will be too fast (1/2000+), creating a staccato effect instead of cinematic motion. An ND8/ND16/ND32/ND64 set for DJI Mini 4 Pro or Air 3 costs approximately €45–60 (~$49–65).
For photography, ND filters open the door to long exposure: with an ND1000 you can achieve 1–4 second shutter speeds even at midday. This means silky water, streaking clouds, and car light trails. Variable ND filters (under €100 / ~$109) offer greater flexibility.
Tip #10: HDR Bracketing — Tie Sky + Ground Together
One of the biggest challenges in aerial photography is the massive brightness difference between sky and ground. The solution? HDR bracketing — the camera automatically takes 3–5 shots at different exposures, which are then merged into a single image.
According to experts, this technique produces photos that look closer to what the eye actually sees — without “blown-out” skies or black patches on the ground. Current DJI drones support automatic bracketing of 3 or 5 images. Merge them in Lightroom or Aurora HDR.
Tip #11: Stop Before You Shoot
This seems obvious, but it's one of the most common beginner mistakes: shooting while the drone is still moving. Even slight movement at 48MP resolution produces blurry images. Use Tripod Mode (limits speed to ~3.6 km/h) for slow, precise movements and come to a complete stop before pressing the shutter button.
Tripod Mode is also excellent for video — it provides tripod-like stability, ideal for time-lapse, hyperlapse, and slow reveal shots.
Tip #12: D-Log M / HLG — Choose Your Color Profile
Modern DJI drones offer professional color profiles. D-Log M (10-bit) delivers 12+ stops of dynamic range — maximum information, but the image appears flat and requires color grading. In contrast, HLG (Hybrid Log-Gamma) produces vivid colors without any editing — ideal for social media or quick use.
As a general rule: if you plan serious editing (cinematic video, professional photography), use D-Log M. If you want instant results, use HLG. Don't use Normal — it doesn't fully utilize the sensor.
Tip #13: Post-Processing Is Half the Result
RAW files look flat and washed out — that's by design, because they contain maximum information. The real image emerges in editing. According to experts, here's the essential workflow for aerial photography:
- Lens Correction: Enable lens profile correction — it removes barrel distortion from wide-angle drone lenses.
- White Balance: Set the correct temperature — golden hour calls for warmer tones (5500–6500K).
- Exposure: Highlights -20 to -30, Shadows +40 to +60 for a balanced image.
- Vibrance (not Saturation): +15 to +25 — enhances without over-saturation.
- Sharpening: +50/+70 Amount, +40 Masking (sharpens edges only).
- Crop & Straighten: Level the horizon — critical in aerial photography.
Tools: Adobe Lightroom Classic (the king of RAW editing), Luminar Neo (AI-powered), or Snapseed (free mobile). For D-Log M video color grading, use DaVinci Resolve (free).
Tip #14: Plan Every Flight Like a Mission
Battery time is limited — even with the DJI Air 3 (46 minutes), you don't have the luxury of experimenting indefinitely. Professional drone photographers treat every flight as a mission:
- Before: Scout via Google Earth, check weather (don't fly in wind above 2/3 of the drone's maximum speed), check no-fly zones via DJI Fly or AirMap.
- Equipment: Batteries at 100%, microfiber cloth for the lens, microSD V30 128GB+, firmware updated (at home, NOT in the field).
- During flight: Follow your checklist — first stabilize, then frame, then shoot. Every minute counts.
💡 The Professional's Rule: If you're not spending at least as much time planning as you do flying, you're probably leaving stunning shots on the table. Random flights rarely produce exceptional results.
Tip #15: Experiment with Automated Flight Modes
Modern drones are packed with AI — take advantage of it. Features like Panorama (180°, Wide, Sphere — 100+ MP resolution), Hyperlapse (automatic in-flight time-lapse), ActiveTrack 360° (automatic subject tracking in 8 directions), and QuickShots (Dronie, Helix, Rocket, Circle, Boomerang, Asteroid) can produce cinematic results even without experience.
QuickShots in particular are excellent for social media — select a subject, tap GO, and the drone performs an impressive shot pattern on its own. Try them in open spaces first, so if anything goes wrong there are no obstacles.
Bonus: 3 Mistakes You Must Avoid
Beyond the 15 tips, there are 3 mistakes nearly every beginner makes:
High ISO
1/1.3″ sensors show noise earlier than full-frame cameras. Above ISO 400–800, quality drops noticeably. Use a slower shutter speed or an ND filter instead of raising ISO.
Ignoring Regulations
In most countries, drone registration is mandatory regardless of weight. Flying near airports, over crowds, or at heritage sites is prohibited. Fines start at significant amounts.
Video Without ND
Video without ND filters in sunshine looks staccato and unnatural. An ND set costs €45–60 (~$49–65) — it's the best value-for-money upgrade after the drone itself.
Summary — All 15 Tips at a Glance
- Always shoot in RAW format
- Fly during golden hour / blue hour
- Use the rule of thirds
- Leverage leading lines
- Look for patterns and symmetry (top-down)
- Add a human element for scale
- Scout with Google Earth before you go
- Learn Manual mode or Shutter Priority
- Always use ND filters, especially for video
- Use HDR bracketing
- Come to a full stop before shooting
- Learn D-Log M and HLG color profiles
- Invest time in post-processing
- Plan every flight like a mission
- Experiment with automated flight modes