📖 Read more: DIY FPV Drone: Build Your Own Step by Step
Why Drone Video Editing Matters
The DJI Mini 4 Pro records video at 4K/60fps HDR, slow motion 4K/100fps, and even FHD/200fps, with 10-bit color depth in D-Log M or HLG. This means massive dynamic range and rich color information — but raw log footage without editing looks “washed out” and desaturated. Proper editing brings out the colors, corrects exposure, adds rhythm through cuts and transitions, and transforms a simple video into a cinematic experience.
Did You Know? D-Log M 10-bit footage contains up to 4 times more color information compared to standard 8-bit. This gives you enormous flexibility in color grading without degradation.
What You Need to Get Started
Before opening any editing software, make sure you have the right equipment. Editing 4K video, especially in H.265 codec, requires significant computing power.
Computer / Laptop
CPU: Intel i7 11th Gen or AMD Ryzen 7 5800 and above. GPU: NVIDIA RTX 3060 or AMD RX 6700 XT (minimum). RAM: 16GB (32GB ideal). NVMe SSD for fast footage playback.
Storage Space
One minute of 4K/100fps in H.265 at 150 Mbps takes roughly 1.1GB. You'll need an external SSD of at least 1TB (~€80-120 / ~$87-130) for project files.
microSD Card
SanDisk Extreme PRO or Samsung EVO Plus 256GB V30 (~€30 / ~$33) — the V30 speed class is essential for reliable 4K recording on the DJI Mini 4 Pro.
Monitor Headphones
Proper audio monitoring during editing is critical. Over-ear closed-back headphones (~€50-100 / ~$55-109) help with audio mixing and music syncing.
Best Drone Video Editing Software
The market offers excellent options for every skill level and budget. Here's a detailed comparison of the most popular editing software — from free to professional.
DaVinci Resolve 20 — FREE
Price: Free (Studio: ~€270 / $295)
The undisputed king of free editing. Includes professional editing, color grading (with Emmy-awarded technology), visual effects (Fusion), audio mixing (Fairlight), and delivery — all in one application. The free version supports 8-bit video up to 60fps at Ultra HD resolution, HDR grading, and multi-user collaboration. The Studio version ($295) adds 10-bit up to 120fps, AI Neural Engine, noise reduction, and magic mask. Over 100 GPU-accelerated effects (Resolve FX). Used extensively in Hollywood.
Adobe Premiere — Subscription
Price: ~€21/month (~$22.99/mo) annual subscription
The industry-standard NLE. Powerful AI tools: Object Mask, auto-translate captions in 18 languages, Media Intelligence search, text-based editing. Built-in color wheels, curves, and video scopes. Strong audio mixing with noise reduction and dialogue enhancement. Hundreds of cinematic effects and transitions. Requires active subscription, but integrates seamlessly with After Effects, Premiere Rush, and Adobe Stock.
DJI LightCut — FREE
Price: Free (iOS/Android)
DJI's official editing app. Connects wirelessly to the Mini 4 Pro, automatically recognizes composition and flight routes, and creates videos with one tap. AI sound effects that match automatically, countless aerial shot templates (nature, cityscape, tilt-shift). Perfect for quick edits in the field without downloading footage.
📖 Read more: DJI Flip: The Ideal Drone for Beginners
CapCut — FREE
Price: Free (Desktop + Mobile)
Excellent free option with user-friendly interface. Drag & drop editing, rich library of transitions and text effects, auto-captions, speed ramping tools. Ideal for beginners wanting quick results, especially for social media content.
Free Options
- DaVinci Resolve: Full professional system, Hollywood-grade color
- LightCut: Wireless drone connection, instant editing
- CapCut: Easy, fast, social-media ready
Paid Options
- Premiere: ~€21/mo (~$22.99), AI tools, industry standard
- DaVinci Studio: ~€270 (~$295) one-time, 10-bit, Neural Engine
- Final Cut Pro: ~€300 (~$300) one-time, Mac only
Recording Settings: Before You Fly
Editing starts before you even open software — it begins with your camera settings on the drone. The DJI Mini 4 Pro offers three main video modes:
D-Log M (10-bit)
The top choice for color editing. Stores maximum dynamic range in a flat, desaturated image. ISO range: 100-1600. Ideal for professional color grading in DaVinci Resolve or Premiere. Absolutely requires post-processing.
HLG (10-bit)
Hybrid Log-Gamma — 10-bit color depth but with a more “vivid” appearance without grading. Looks great even without editing. ISO range: 100-1600. Ideal when you want 10-bit flexibility without heavy color grading.
Normal (8-bit)
Standard 8-bit 4:2:0 video. Vibrant and saturated colors straight out of camera. ISO range: 100-6400. Ideal for quick edits, social media posts, or when you want zero color grading. Less flexibility in post.
"If you plan serious editing, always shoot in D-Log M. The 10-bit footage gives you enormous freedom in color grading. If you want quick results, HLG is the golden middle ground." — Core drone videography principle
Step-by-Step: Your First Edit
If you're a beginner, follow these 6 steps using DaVinci Resolve (free) — the same logic applies to any NLE.
Step 1: Import & Organize Footage
Transfer files from the microSD to your SSD. In DaVinci Resolve, open the Media page, create bins (folders) by location or scene, and import clips. Always work from the SSD — never directly from the card.
Step 2: Rough Cut — Trim & Arrange
On the Edit page, drag clips to the timeline. Trim the beginning/end of each clip (usually the first 3-5 seconds are takeoff shake). Arrange clips in logical order — start with an establishing shot (high, wide), then move to closer angles.
Step 3: Speed Adjustments
4K/100fps footage is perfect for cinematic slow motion. Right-click → Change Clip Speed → 40% or 25% speed. For hyperlapses or fast-forward: increase to 200-400%. Note: speed ramping (gradual speed changes) creates stunning transitions between slow-mo and normal speed.
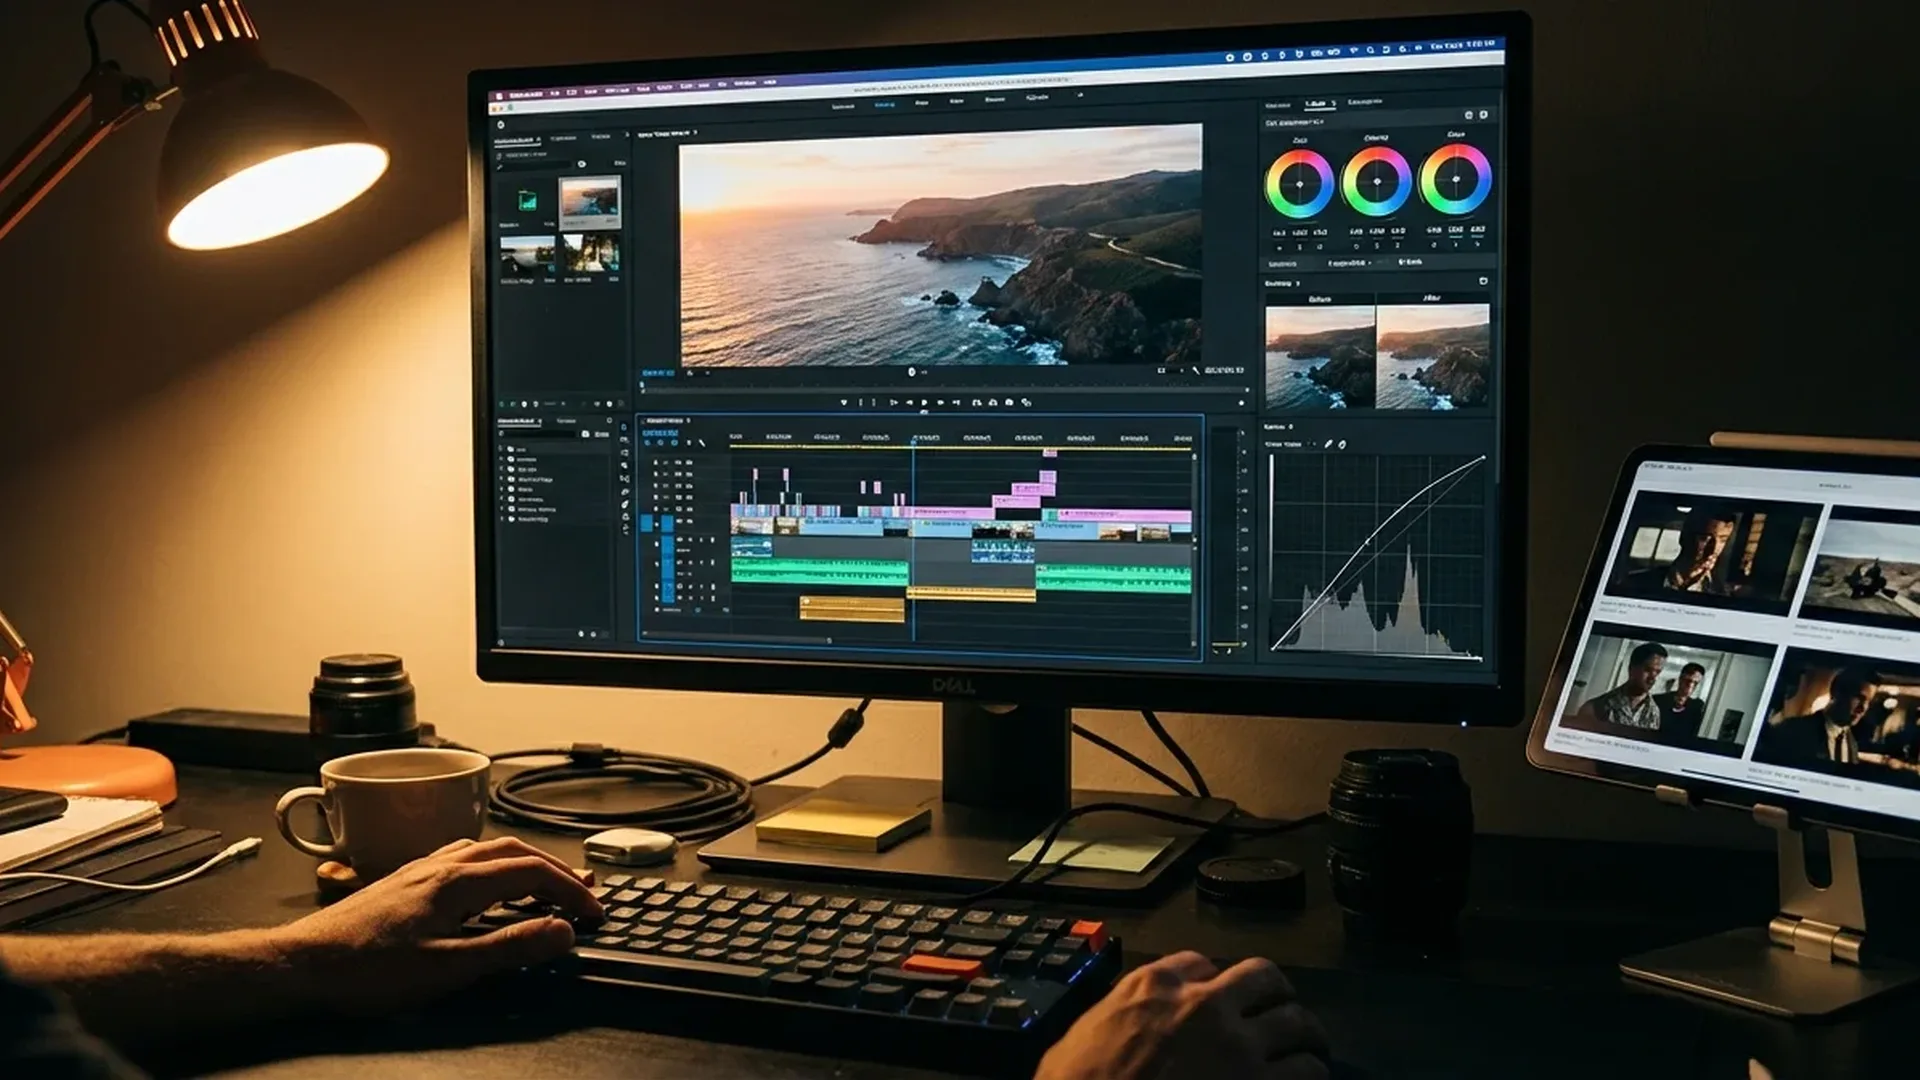
Step 4: Color Grading
On the Color page, first apply a Color Space Transform: from DJI D-Log M to Rec.709. Then adjust Lift/Gamma/Gain wheels. Add contrast, slightly increase saturation, and adjust color temperature. Alternatively, apply a LUT as a starting point.
Step 5: Music & Audio
Add royalty-free music to the timeline. Lower the original drone audio (motor/wind noise) to -∞ or apply noise reduction. Sync your cuts to the music beats — this is one of the most powerful storytelling tools.
Step 6: Export
On the Deliver page: select H.265 codec, 3840×2160 resolution, 50-80 Mbps bitrate for YouTube/Vimeo, or 20-30 Mbps for social media. For Instagram Reels/TikTok: 1080×1920 vertical. In Premiere: use the “YouTube 4K” or “H.265 Match Source” preset.
📖 Read more: DJI FPV vs Avata 2: Speed or Cinematic FPV?
Color Grading: The Complete Guide
Color grading is arguably the most important step in drone video editing. It transforms flat D-Log M footage into cinematic imagery. Here's the step-by-step process.
Basic Color Grading Workflow (DaVinci Resolve)
- Color Space Transform Node: Add a node → Effects → Color Space Transform. Input Color Space: DJI D-Gamut, Input Gamma: DJI D-Log M. Output: Rec.709, Gamma 2.4. This converts the flat footage to a standard appearance.
- Primary Correction: Adjust the Lift (shadows), Gamma (midtones), Gain (highlights) wheels. Goal: balanced histogram without clipping.
- Contrast & Saturation: Increase contrast by 10-20 units. Saturation: 55-65 (don't overdo it). Over-saturated footage looks amateurish.
- Creative LUT (optional): Apply a preset look: cinematic teal & orange, moody dark, warm sunset. Lower the intensity to 40-60% — never at 100%.
- Secondary Corrections: Use Power Windows to brighten/darken specific areas (e.g., the sky). Qualifiers to adjust only specific colors (e.g., grass green, ocean blue).
LUTs vs Manual Grading
LUTs
- Fast — applied in seconds
- Consistent look across multiple clips
- Hundreds of free LUTs available online
- Ideal for beginners
Manual Grading
- Full control over every parameter
- Per-scene/lighting adjustment
- More creative freedom
- Requires knowledge and practice
Transitions & Cinematic Effects
The right transitions make the difference between amateur and professional results. Here are the most effective techniques for drone footage:
Straight Cut
The most cinematic transition. Clean, simple cut between clips — especially effective when your shots have similar motion or opposite direction (match cut).
Speed Ramp
Gradual speed increase at the end of one clip + slow start on the next. Creates energy and rhythm without any effects. Ideal for FPV-style sequences.
Cross Dissolve
Classic fade between clips. Use it sparingly (0.5-1 sec) — only for smooth time or location transitions. Overuse looks amateurish.
Zoom Transition
Keyframe zoom-in at the end + zoom-out on the next clip. Dynamic effect for energetic edits. Use motion blur and ease-in/out curves for natural feel.
Rule #1: Fewer transitions = more cinematic result. Pre-built flashy transitions (star wipes, 3D flips) look amateurish. Keep things simple: straight cuts, speed ramps, and a few dissolves.
Music & Sound Design
Music is the invisible director of your video. It determines the rhythm, emotion, and structure of your entire edit. Here are the best sources and techniques:
Royalty-Free Music Sources
- Epidemic Sound: ~€13/month (~$14), massive library, YouTube/social media coverage
- Artlist: ~€10/month (~$11) annual, unlimited downloads, very high quality
- YouTube Audio Library: FREE, decent for starters, some tracks require attribution
- Pixabay Music: FREE, no attribution required, great genre variety
- DaVinci Resolve Fairlight: Built-in sound design tools, reverb, noise reduction, AI Voice Isolation
Audio Editing Techniques
- Mute drone audio: Motor/wind noise is almost never useful. Drag the volume to minimum or mute entirely.
- Beat sync editing: Cut clips to the music beats. Hit “M” in DaVinci/Premiere to place markers on each beat.
- Fade in/out: Always add audio fades (0.5-1 sec) at the beginning and end — never an abrupt audio cut.
- Ambient sounds: Add ambient audio (waves, wind, birds) under the music at -20dB for depth. This creates a three-dimensional feel.
Optimal Export Settings
Export settings should match your publishing platform. Here's a quick guide:
YouTube / Vimeo
Codec: H.265 (or H.264)
Resolution: 3840×2160 (4K)
Bitrate: 50-80 Mbps
Frame Rate: 24fps or 30fps
Audio: AAC 320 kbps
📖 Read more: DJI Inspire 3: The Ultimate Cinema Drone
Instagram Reels / TikTok
Codec: H.264
Resolution: 1080×1920 (vertical 9:16)
Bitrate: 15-30 Mbps
Frame Rate: 30fps
Max Duration: 90 sec Reels, 10 min TikTok
Codec: H.264
Resolution: 1920×1080 (FHD) or 4K
Bitrate: 20-40 Mbps
Frame Rate: 30fps
Audio: AAC 128-256 kbps
"Always export in H.265 for YouTube — smaller file size at the same quality. If the platform doesn't support H.265, use H.264 as a fallback." — Video export best practice 2026
10 Common Beginner Mistakes
- Too many transitions: Star wipes, 3D spins, flash effects — avoid them. Straight cuts and speed ramps are enough.
- Over-saturated colors: Saturation at 100% doesn't look good. Keep saturation natural (55-65 in Resolve).
- Cuts without purpose: Drone shots need time to “breathe.” Each clip should be at least 3-5 seconds.
- Ignoring audio: A video without music or with motor noise won't retain viewer attention.
- Low bitrate export: Below 30 Mbps at 4K creates artifacts. Aim for 50-80 Mbps.
- Shooting only in Normal mode: 8-bit clips have no headroom for serious grading. Shoot in D-Log M.
- Not using proxies: 4K H.265 footage stutters on weaker computers. Proxies solve this problem.
- Same audio everywhere: Each scene needs appropriate musical atmosphere.
- No stabilization: Even with a gimbal, some micro-jitters need warp stabilizer in post.
- Wrong resolution export: Vertical video in a 16:9 frame leaves black bars. Adjust the sequence to the correct aspect ratio.
Equipment & Costs
Detailed cost estimate for a complete drone video editing setup:
DJI Mini 4 Pro
Base: ~€700 (~$759)
Fly More Combo RC 2: ~€1,010 (~$1,099)
Fly More Combo Plus RC 2: ~€1,070 (~$1,159)
4K/100fps, D-Log M 10-bit, H.265
Editing Software
DaVinci Resolve: FREE
DaVinci Studio: ~€270 (~$295) one-time
Adobe Premiere: ~€21/mo (~$22.99/mo)
LightCut / CapCut: FREE
Storage
microSD 256GB V30: ~€30 (~$33)
External SSD 1TB: ~€80-120 (~$87-130)
NVMe SSD 2TB: ~€120-180 (~$130-196)
Accessories
ND Filters Set: ~€45-60 (~$49-65)
Monitor Headphones: ~€50-100 (~$55-109)
Music (Artlist): ~€10/mo (~$11/mo)
Calibrated Monitor: ~€200-400 (~$218-435)
Minimum Budget: DJI Mini 4 Pro (~€700 / ~$759) + DaVinci Resolve (free) + microSD (~€30 / ~$33) + SSD (~€80 / ~$87) = ~€810 (~$879) for a complete 4K video editing setup. With the Fly More Combo (~€1,010 / ~$1,099) and external SSD: ~€1,120 (~$1,219). You can start without any software cost at all.
Typical Beginner Workflow
Here's a practical workflow you can apply immediately:
- Flight: Shoot in D-Log M or HLG, 4K/30fps or 4K/60fps, H.265. Use ND filters for proper motion blur (180° rule: shutter = 2x frame rate).
- Transfer: Copy files to SSD. Never delete from the card until you've confirmed a successful copy.
- Import: Open DaVinci Resolve → Media page → Import clips → Organize in bins.
- Assembly: Edit page → Drag best clips to timeline → Trim beginnings/ends → Arrange logically.
- Color: Color page → Color Space Transform → Primary correction → Creative grading.
- Audio: Fairlight page or Edit page → Add music → Mute drone audio → Beat sync cuts.
- Export: Deliver page → H.265, 4K, 50-80 Mbps → Add to Render Queue → Start Render.
Bonus Tips
- Proxy Editing: If your computer struggles with 4K H.265, create proxy files (lower resolution) in DaVinci Resolve. Edit on proxies, export at full resolution.
- Use Markers: Place markers (M) at your desired cut points while listening to the music, before you start cutting footage.
- Consistency: Maintain a consistent look throughout the entire video. Don't change your color style per clip.
- Storytelling Arc: Even in a 60-second video, create beginning-middle-end: establishing shot → details → reveal → closing.
- Learn Shortcuts: Blade (B), Trim (T), Selection (A), Markers (M) — these 4 make editing 3x faster.