Core Maneuvers
Once you've conquered squares and figure-8s, it's time for more advanced maneuvers. These will make you a far more confident and smoother pilot:
Orbit
Fly beside an object (tree, bench). Push the right stick sideways (roll) while simultaneously turning the left stick (yaw) in the opposite direction. The result: circular flight around the object while the camera stays locked on it. Start slow — on the DJI Mini 4 Pro, you can use Point of Interest (POI) for automatic orbits.
Bank Turn
Combine pitch + roll + yaw simultaneously for a smooth turn, like an airplane banking. This technique produces cinematic curves instead of sharp angles. In Cine Mode (C), the sticks respond slowly and smoothly — ideal for practicing this.
Nose-In Hover (Reversed Orientation)
Rotate the drone 180° so the "nose" points toward you. Now the controls are reversed: pushing left on the stick makes the drone appear to move right from your perspective. This skill keeps you safe if you ever lose orientation.
Headless Mode: Some drones offer headless mode, where controls always work relative to you — but don't make it a crutch. Learn normal flight first, otherwise you won't know what to do if you need to fly without it.
8 Cinematic Camera Moves
These are the moves that separate a "phone video" from a truly cinematic drone shot. Each requires practice — but trust me, it's worth the effort.
Reveal Shot
Start low behind an obstacle (rock, hill). Slowly raise throttle + pitch forward. As the drone climbs, the landscape is revealed. Classic movie move.
Orbit (Circular Shot)
Roll + opposite yaw = circular flight around your subject. On the Mini 4 Pro (~€700 / ~$759), use ActiveTrack 360° or Point of Interest for perfect automatic execution.
Dronie (Pull-Back)
Camera faces the subject, fly backward + up simultaneously. The classic selfie-from-above. Also available as an automated QuickShot Dronie.
Rocket
Subject below, camera pointing straight down. Push throttle up fast. Dramatic pull-away — excellent opening or closing shot. Automated via QuickShots.
Helix (Spiral)
Circular motion + steady climb simultaneously. The camera spirals upward around a building or monument. Requires coordinating all three axes at once.
Tracking Shot
Follow a moving subject (car, cyclist) while maintaining distance. On the Mini 4 Pro, ActiveTrack 360° handles this automatically. Manual tracking requires pitch + yaw + roll.
Fly-Through
Fly straight ahead at a steady altitude — through a park, along a coastline, over water. Cine Mode (C) + steady pitch = butter-smooth result.
Dolly Zoom (Hitchcock)
Fly backward while simultaneously zooming in digitally (or the reverse). Creates a vertigo effect. Requires manual zoom control during flight.
Cinematography Rule #1
Every camera move must have a purpose. Ask before each shot: "What am I revealing to the viewer?" If the answer is "nothing," don't film it. A steady, well-positioned shot always beats a pointless movement. On DJI drones, use Cine Mode (C) — the slow response automatically delivers smoother motion.
QuickShots & MasterShots
You don't need to be Spielberg-level to capture stunning footage. DJI drones (Mini 4 Pro from ~€700 / ~$759, Flip from ~€400 / ~$439) offer ready-made automated camera movements:
QuickShots (Automated Ready-Made Shots)
Select your subject on screen, tap QuickShot, choose a style. The drone does everything on its own:
Dronie
Flies backward + upward while keeping subject centered
Circle
Circles around the subject at a fixed altitude
Rocket
Launches vertically upward while looking straight down
Helix
Circle + climb = spiral around subject
Boomerang
Elliptical orbit around subject — goes and comes back
Asteroid
Launches up, captures sphere panorama and descends (Mini 4 Pro)
MasterShots: Complete Video with One Tap
MasterShots automatically combines multiple QuickShots and edits them into a polished 15-30 second video with music. Select your subject → tap MasterShots → put down the controller. The drone executes a scripted flight path, captures multiple angles, and delivers a portfolio-ready result. Available on DJI Mini 4 Pro, Flip, and Air 3S.
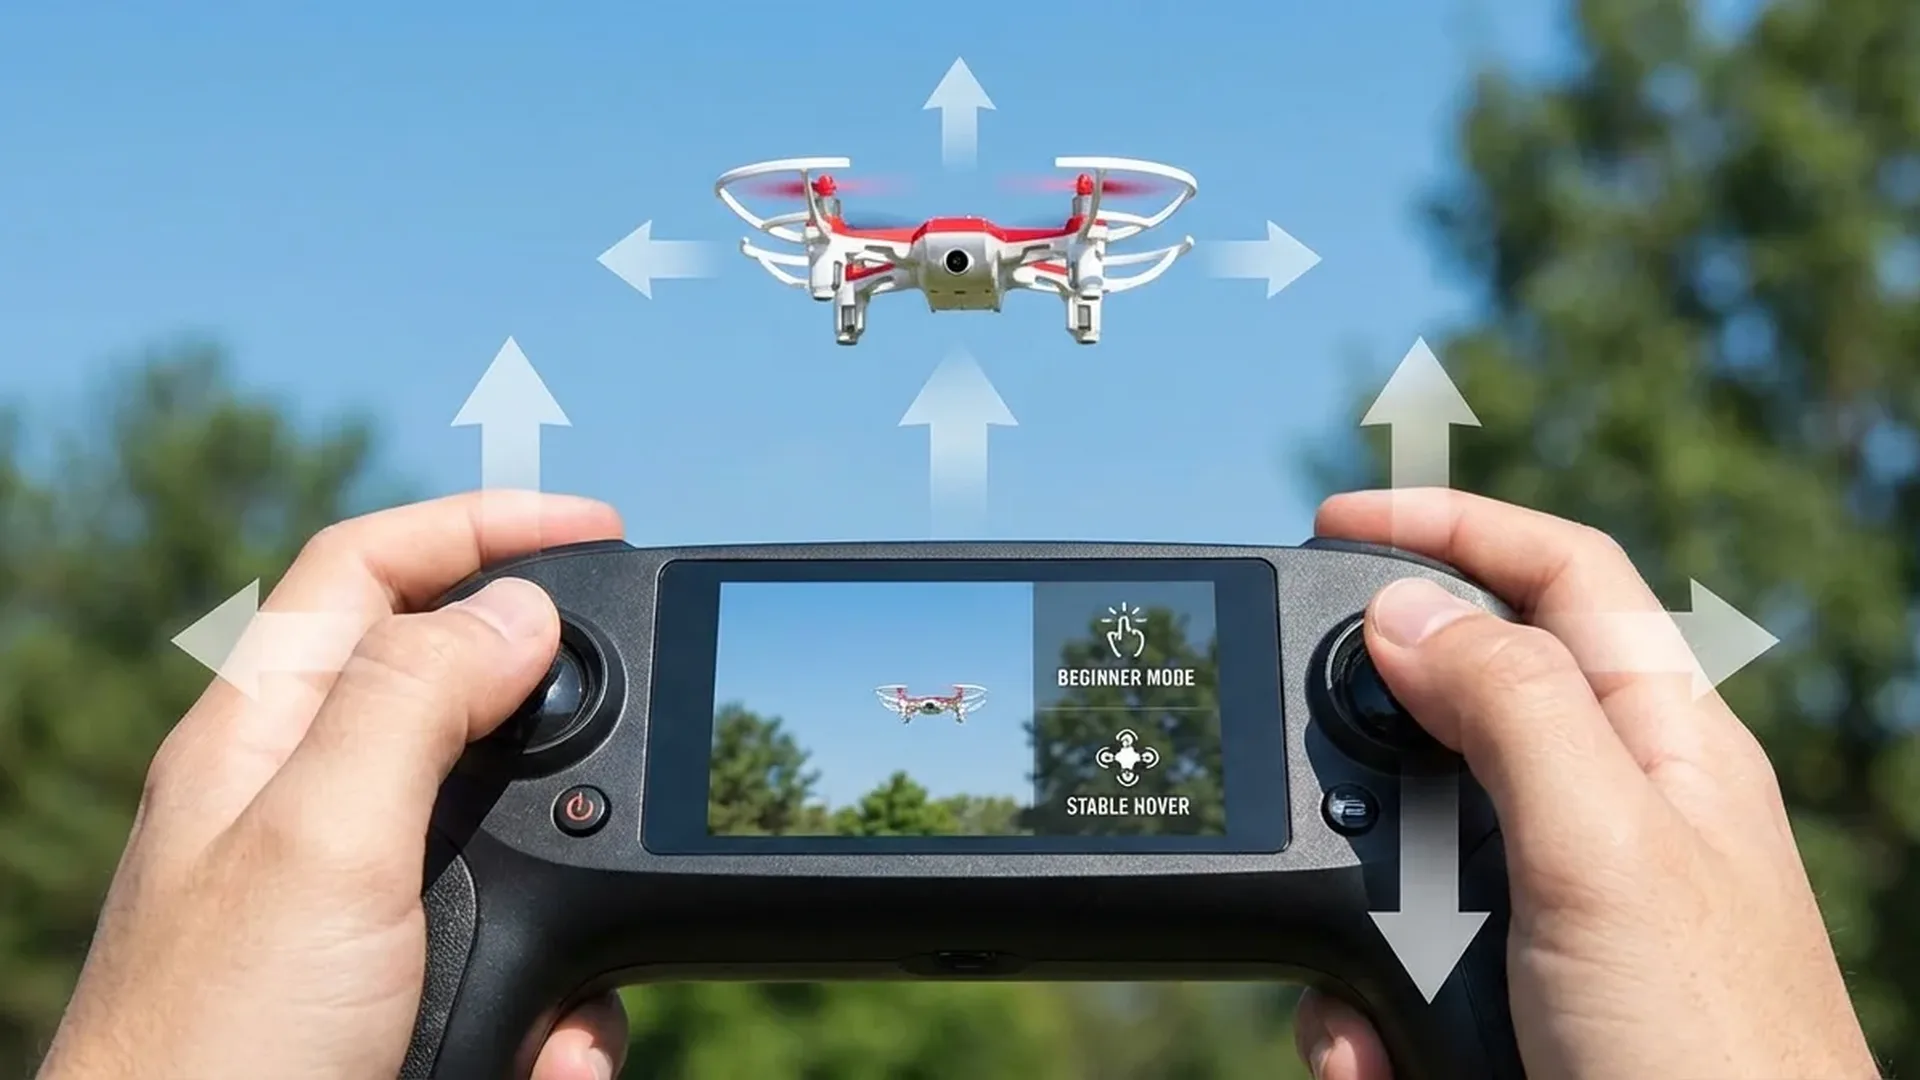
Camera Settings for Beginners
Modern DJI drones (1/1.3" CMOS, f/1.7) capture exceptional footage, but a few settings tweaks can dramatically improve quality:
Video: Essential Settings
- Resolution: 4K/30fps for a cinematic look, 4K/60fps for slow motion in post-production
- Shutter Speed: Double your frame rate — shooting at 30fps? Set shutter to 1/60. At 60fps, use 1/120. This creates natural motion blur
- ISO: Lower is better. ISO 100 on sunny days. Above ISO 800, noise starts creeping in
- ND Filters: Without an ND filter in sunlight, you'll need very fast shutter speeds (1/2000+) — losing motion blur. Use ND16 or ND32 on bright days
- Color Profile: Normal/Standard for beginners. If you plan to color grade, use D-Log M (10-bit) or HLG
Photography: Quick Tips
- RAW: Always shoot JPEG+RAW — gives you far more flexibility in editing
- Grid Lines: Enable Rule of Thirds in the DJI Fly app
- Golden Hour: The 30 minutes after sunrise and before sunset deliver magical lighting
- Panorama: Use the built-in Panorama function (180° or Sphere) for stunning panoramic shots
microSD: Use a V30/U3 or better card (e.g., SanDisk Extreme 128GB ~€20 / ~$22) for 4K without dropped frames. Cheap Class 10 cards can't handle 4K/60fps.
6 Common Beginner Mistakes
Every beginner (and I mean every single one) makes at least one of these. Learn them now, avoid them later:
Flying without a Pre-Flight Check: Loose propellers, low battery, outdated firmware = trouble. Fix: ALWAYS run through the 10-point check before every flight.
Maxing out the sticks: Pushing joysticks to 100% instead of small, gradual inputs. Fix: Keep stick movements <30% — smoothness beats speed every time.
Flying too far too fast: Pushing max range before mastering hover. Fix: Stay within 50 m distance + 30 m altitude for your first 5 flights.
Ignoring wind warnings: The app shows "High Wind Warning" but you keep flying. Drones <250 g are lightweight and get pushed around easily. Fix: If wind exceeds 8 m/s (18 mph), land immediately.
Not monitoring battery: Flying until critical battery (10%) and panicking. Fix: Start RTH at 30%. Always keep a 20-25% buffer for the return trip.
Flying in No-Fly Zones: Near airports, military areas, or archaeological sites without checking. Fix: Always use DJI Fly + local aviation authority apps to verify the area before flying.
5 Practice Drills
Want to actually become a pilot? Then you need a training plan. Do these drills during your first 10 flights — you'll feel like a veteran in record time:
Hover Challenge
Take off to 3 m and hold position for 60 seconds. Then 5 m. Then 10 m. Modern DJI drones maintain hover with ±0.1 m accuracy (GPS + vision sensors), but you need to learn to trust the stabilization.
Squares & 8s
3 squares + 3 figure-8s in a row. Gradually increase speed. Once you can do them without stopping, try the same in Cine Mode (C) for maximum smoothness.
Nose-In Drill
Turn the nose toward you (180° yaw). Fly forward-backward, left-right. The controls are reversed — this skill saves drones. Practice until it becomes second nature.
Orbit Practice
Place a cone or water bottle as a reference point. Circle around it manually (roll + opposite yaw). Maintain consistent altitude and radius. Then try the opposite direction.
Cinematic Flight
Switch to Cine Mode (C), record 4K/30fps. Execute: 1x Reveal Shot, 1x Tracking Shot (pedestrian), 1x Orbit. Steady, slow movements. Watch the footage afterward — you'll be surprised how cinematic it looks.
Precision Settings in DJI Fly
Before attempting advanced flights, configure these in the DJI Fly app (applies to Mini 4 Pro, Flip, Air 3S):
- RTH Altitude: Set to 30-50 m — must be higher than the tallest obstacle in your flying area
- Max Altitude: Set to 120 m (the legal maximum in the EU for Open Category)
- Max Distance: Start at 100 m for your first 2-3 flights, increase gradually
- Obstacle Avoidance: Always keep on "Brake" or "Bypass" (APAS). NEVER disable it as a beginner
- Stick Sensitivity (EXP): Lower sensitivity to 0.15-0.20 for smoother movements. Default is around 0.25
- Gimbal Pitch Speed: Set to 20-30 (not 100) — slow gimbal movement = cinematic feel
APAS (Advanced Pilot Assistance System): On the DJI Mini 4 Pro (~€700 / ~$759), four wide-angle vision sensors + two downward sensors detect obstacles in every direction. In Normal Mode (N), APAS automatically brakes or bypasses obstacles. The DJI Flip (~€400 / ~$439) features a 3D Infrared Sensing System that auto-brakes even at night. DO NOT disable these systems during your first 20 flights.
Ideal Flying Conditions
Weather conditions dramatically affect drones — especially lightweight sub-249g models:
- Wind: Fly in wind speeds <8 m/s (18 mph). The DJI Mini 4 Pro handles up to 10.7 m/s, but it will wobble at that level. Check apps like Windy or UAV Forecast
- Temperature: DJI drones operate between -10°C and 40°C (14-104°F). Below 5°C (41°F) the battery loses significant capacity — warm it in your jacket pocket first
- Rain: DO NOT fly in rain. No consumer DJI drone is waterproof. If rain starts, land immediately
- Fog: Reduces visibility and can affect the optical obstacle avoidance sensors
- Golden Hour: 30 minutes after sunrise or before sunset = perfect lighting, less wind, magical colors
From Beginner to Competent: Timeline
How long does it take? With regular practice (2-3 flights per week), here's a realistic timeline:
Week 1-2: Basics
Hover, straight movements, yaw, squares. Up to 30 m altitude, 50 m distance. Normal Mode (N) only. Goal: 5 smooth flights without panicking.
Week 3-4: Maneuvers
Figure-8s, manual orbits, nose-in flying, first QuickShots. Increase to 80 m altitude, 200 m distance. Try Cine Mode (C) for video.
Week 5-8: Camera Work
Reveal shots, tracking, MasterShots, Hyperlapse, first D-Log M footage. Learn manual camera settings. Start using Waypoint Flight for repeatable routes.
Month 3+: Independence
Flights in varied environments, wind, golden hour, diverse landscapes. Publishing footage on SkyPixel or social media. Consider the EASA A2 license if you want to fly heavier drones.
"You don't need 100 flights to capture great footage. You need 10 flights with deliberate practice, and above all, the willingness to watch your mistakes and fix them."